PicsArt is one of the most popular photo editing apps available on both Android and iOS. If you want to make your photos stand out, blurring the background is a simple yet effective way to create a professional look. Whether you’re a beginner or a pro, you can easily blur backgrounds in just a few steps. Here’s a quick guide to help you blur the background in PicsArt in 4 easy steps.
Step 1: Open PicsArt and Choose Your Photo
The first thing you need to do is open the PicsArt app. Once you’re inside the app, tap on the plus (+) sign at the bottom of your screen to start a new project. From here, select the photo you want to edit. This could be a picture of yourself, a friend, or any image where you want to make the background look blurry.
Step 2: Select the “Tools” Option
Once you’ve opened your photo, you’ll see a menu at the bottom. Tap on the “Tools” option. This will open a list of editing tools. Look for the “Blur” option and select it. This is where the magic happens!
Step 3: Choose the Type of Blur
PicsArt offers different types of blur effects. The most common blur effect is the “Lens Blur” which gives your photo a smooth, soft blur. Once you select “Blur,” you will be able to use your finger to draw on the area of the image you want to blur. You can increase or decrease the intensity of the blur by sliding the “Strength” bar.
Step 4: Apply the Blur to the Background
Now comes the fun part! Use your finger to carefully draw around the subject of the photo, making sure to blur the background. PicsArt allows you to zoom in, so you can be precise and avoid blurring any part of the subject you want to keep sharp. Don’t worry if you make a mistake—PicsArt also offers an “Undo” button. You can adjust the blur strength to suit your preferences. Once you’re happy with the result, press the checkmark to apply the effect.
Bonus Tips for a Professional Look
- Adjust the Focus: Sometimes, the edges of your subject might look too sharp. You can use the “Focus” tool to soften the subject slightly and make the transition between the subject and blurred background look smoother.
- Experiment with Different Blur Types: PicsArt offers various blur effects like “Motion Blur” and “Radial Blur.” Try experimenting with these to create unique looks.
- Save Your Work: Once you’re satisfied with your blurred background, don’t forget to save your photo. You can share it directly from PicsArt to social media or save it to your gallery.
Why Blur the Background?
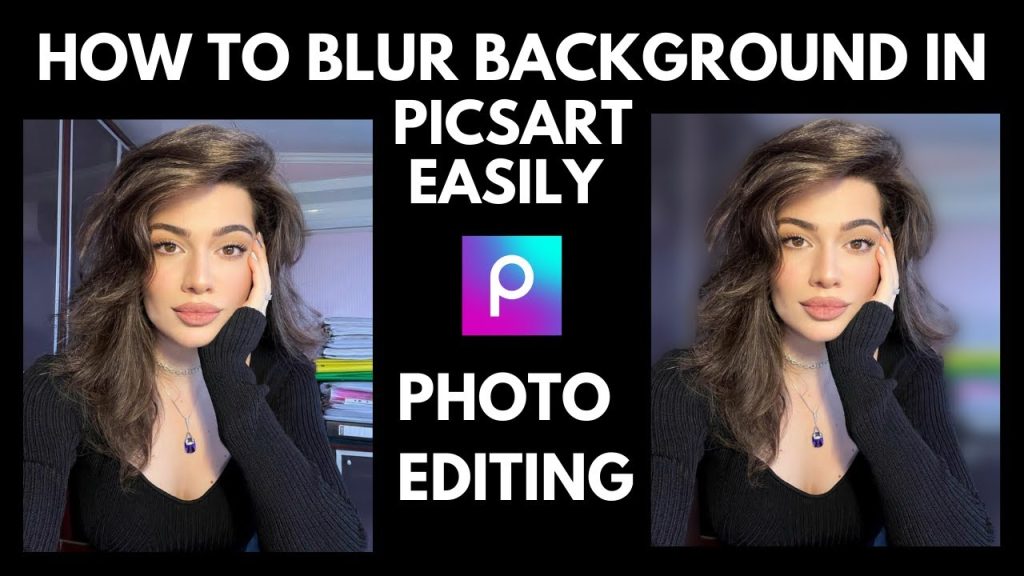
Blurring the background is a popular technique in photography because it makes the subject of the photo pop! This technique, known as “bokeh,” draws attention to the subject by softening everything around it. It’s especially useful when you’re taking portraits or product photos. By blurring out distractions in the background, you can create a professional-looking image in just a few minutes.
Conclusion
Blurring the background in PicsArt in 2025 is an easy way to make your photos look polished and eye-catching. Whether you’re a beginner or an experienced editor, the four simple steps above will help you blur the background quickly and effectively. So go ahead, try it out, and watch your photos transform into beautiful works of art!